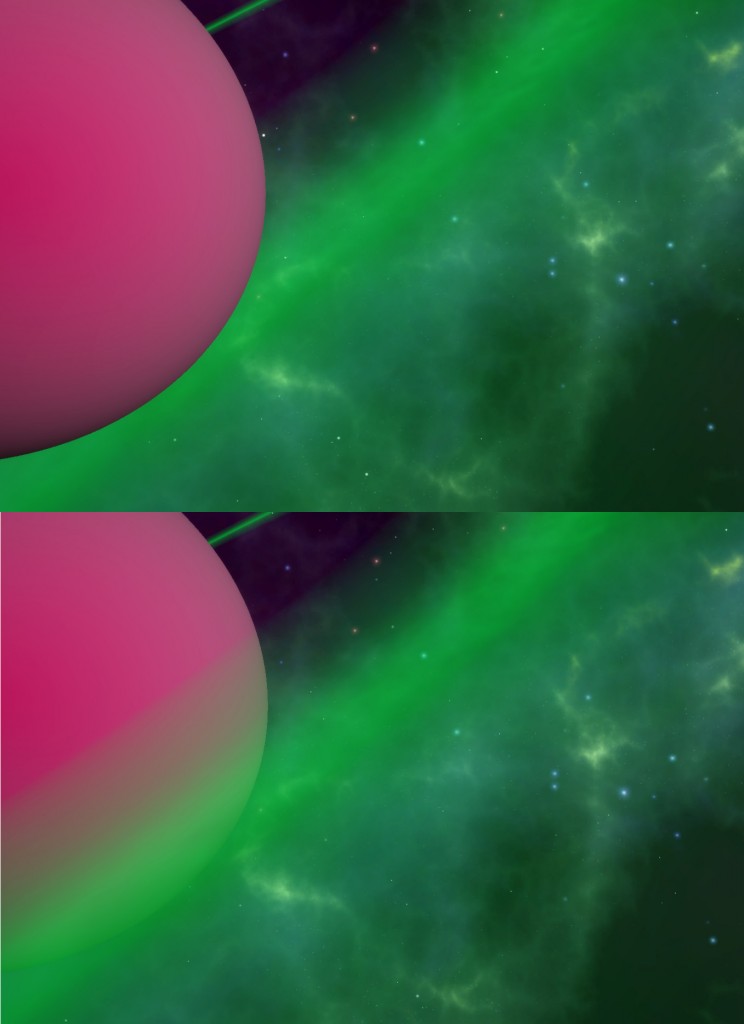
The fact that, by default, the transparent shaders in Unity3d do not work well behind or in front of objects has been a problem for years. Here’s an easy fix that might solve it for you.
Steps
- Make a duplicate of the transparent shader in question. For me, this was Unlit – Transparent Tint. I found it by searching my Project window in the Unity3d editor for “Unlit”.
- Edit the new shader in a text editor (default: MonoDevelop).
- On line 1, change the name of your shader to something you’ll remember. This is where it will be in your shader selection dropdown in the editor.
- Under the SubShader section, add +1 to the item in the “Queue” section. For me, this became “Queue” = “Transparent+1”.
- Save your shader.
- Apply it to your game object.
That’s it! With any luck, the object with your transparent shader should now appear in front of other game objects which also use a transparent shader.
